Comprehensive Curve Correction Program
For Children and Teens
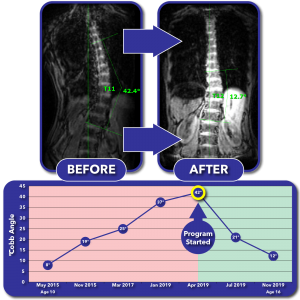
The comprehensive curve correction program for children and teens is specifically designed to attain as much straightening of the spine as possible without surgery. This straightening is attained through the Silicon Valley Scoliosis Method for curve correction. The goal with this program is not merely preventing worsening, rather it is to attain maximum reduction and straightening of the spine. If preventing the need for a scoliosis surgery is a mission-critical priority, then this program is for you.
Program Goals
The comprehensive curve correction program sets high goals to not only stop a curve from progressing, but to straighten the spine as much as possible and hold it there until skeletal maturity so that the results last a life time. While every child and teen (as well as their scoliosis) is different, we can use what growth they have left as a corrective force so that they have a straighter, healthier spine as they enter adulthood.
Program Overview

For children and teens, the comprehensive curve correction program consists of three phases, with the program continuing until the child or teen reaches skeletal maturity (has stopped growing). This ensures the most success possible as scoliosis worsens with growth, and thus treatment should continue until the body has stopped growing. After an initial in-clinic jump start of one to three weeks (sometimes longer in special cases), a cycle of home therapy and return visits to the clinic begin. You can learn more about the various JumpStart periods below, as well as a daily schedule of treatments that are performed in-clinic. Additional information including an overview of each week as well as a description of each treatment phase can also be found below.
Getting Started With The Curve Correction Program
Our comprehensive curve correction program for children and teens sets the bar high, aiming to prevent surgery, straighten the spine, and provide a happier, healthier adulthood instead of merely trying to hold the spine in place. Depending on the size and location of your child or teen’s curve, getting started with our curve correction program will begin with an initial one, two, or three week long visit to our clinic. What does your child or teens curve look like?
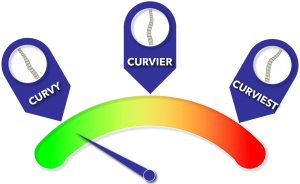
1 Week JumpStart Treatment
Most children and teens who have small curves will get started with an initial week in the clinic. During this week long JumpStart treatment, standing MRI imaging is taken and scanning for bracing is performed. Additionally they will spend a full day, each day, performing various therapeutic exercises and treatments focused on reducing their curve, increasing mobility, and preparing for their brace. You can learn more about their full day-to-day schedule below. You can also get a better understanding of the full week by reading the 3-week JumpStart breakdown below.
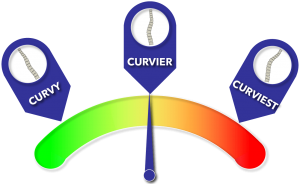
2 Week JumpStart Treatment
For children and teens who have more severe but still moderate curves, their initial JumpStart treatment will span two weeks instead of just one. Similar to the one week JumpStart, during this time MRIs are taken, brace scanning is performed, and the child/teen will spend each day performing exercises and treatments to reduce their curve. The added week allows their more severe curve and other factors (ie. rotation) to be better addressed and treated during this time.
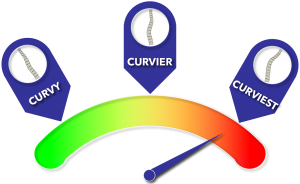
3 Week JumpStart Treatment
For those with large and severe curves, the initial JumpStart treatment period will span three weeks due to the additional treatment and work required to properly address larger curves. As with the one and two week JumpStarts, MRIs are taken, scanning for bracing is performed, and each full day is spent doing exercises and treatments. You can find a detailed breakdown of this three week JumpStart treatment period below to gain a better understanding of what your child/teen will be doing.
Typical Full Day Agenda
It can be surprising to learn that our young patients who begin treatment spend a full day every day during their JumpStart period in the clinic. The combination of warm ups, treatments, exercises, and training for home therapy prepares their body and spine for the brace while also increasing range of motion to allow for better in-brace correction: something proven scientifically to be a key factor in bracing success.
| Time | Activity |
|---|---|
| 9:00 – 9:15 | Warm Up |
| 9:15 – 9:45 | Contracture Treatment |
| 9:45 – 10:15 | Scoliosis Specific Exercises |
| 10:15 – 10:45 | Core Exercises |
| 10:45 – 11:15 | Root Cause Treatment |
| 11:15 – 11:45 | Contracture Treatment |
| 11:45 – 12:15 | Scoliosis Specific Exercises |
| 12:15 – 12:45 | Core Exercises |
| 12:45 – 1:45 | Lunch |
| 1:45 – 2:00 | Warm Up |
| 2:00 – 2:30 | Root Cause Treatment |
| 2:30 – 3:00 | Contracture Treatment |
| 3:00 – 3:30 | Scoliosis Specific Exercises |
| 3:30 – 4:00 | Core Exercises |
| 4:00 – 4:30 | Root Cause Treatment |
| Standing MRI | Imaging is routinely performed as needed to guide each treatment |
| Bracing | Bracing is used throughout treatment and accompanies every activity |
Activities Defined
Scoliosis Specific Exercises: While performing scoliosis specific exercises our patients will strengthen and teach their muscles to hold a corrective position.
Root Cause Treatment: During this time our patients perform nerve stretching, addressing the common underlying root cause of their scoliosis: nerve tension.

Contracture Treatment: Patients will utilize the scoliosis flexibility trainer to treat their contractures non-surgically and restore range of motion to the spine.
Standing MRI Imaging: Standing MRI is used as often as needed to guide all aspects of treatment and ensure the spine is being straightened as much as possible.

Warm Up: Before beginning treatments, stretching, or exercises, our patients will warm up the body to allow better nerve stretching and greater correction by warming up tight ligaments.
Scoliosis Bracing: Each part of the program is designed to prepare for, or enhance the use of a scoliosis brace. Throughout the week adjustments are made to the brace to maximize in-brace correction as well as comfort to ensure bracing success.

Core Exercises: Just as the name implies, having a strong core is crucial to providing the spine with the support it needs. Core exercises help strengthen the core muscles to better support the body and spine.
Typical 3-Week JumpStart Overview
Now that you have a better understanding of how long of an initial treatment JumpStart your child or teen may require, it’s helpful to also understand everything that goes into your initial clinic visits. While your child/teen performs their daily exercises and treatments, depending on the length of the JumpStart treatment, each week will focus on different aspects of treatment and preparation for bracing. You can find an overview of each week below based on a full 3-week JumpStart treatment. If your child or teen only requires a 2-week or 1-week JumpStart, the overview will be very similar, but simply condensed into a shorter period of time due to the reduced time needed to address their smaller curve(s).
During the first week of a three week JumpStart treatment, baseline MRI images are taken as well as measurements of the scoliosis curve(s). A root cause analysis and neurometabolic assessment is also performed to determine the level of nerve tension your child/teen has, as well as any nutritional issues which may be contributing to the scoliosis. To ensure every treatment and exercise is designed specifically for your child/teen’s curve and body, custom fitting is performed for any and all equipment that will be used during exercises and treatments such as nerve stretching, spinal weighting, and flexibility training. Lastly, your child/teen will begin their exercise/treatment routine which was outlined above.
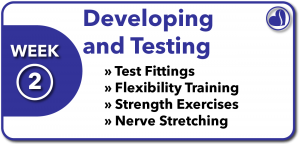
During the second week of the JumpStart treatment, every equipment fitting is tested, improved and re-tested to again ensure optimal fit and effectiveness for your child/teen. Your child or teen will then begin their flexibility training, strength training, and nerve stretching to prepare their spine and body for the brace. These exercises, stretches and treatments help to strengthen supporting muscles that help support the spine and posture, while increasing the spine’s range of motion and loosening the tight spinal cord as much as possible. All of these things work together to allow the spine to be straightened more in the brace, providing a better end treatment result as science shows the straighter the spine is in-brace, the better the treatment result!
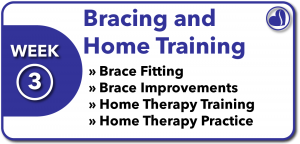
The third week of the program is focused on the brace as well as preparing for home therapy and time away from the clinic so that progress continues to be made at home and not lost. During this time your child or teen’s brace is fit and modifications and improvements are made to the brace. These improvements and modifications ensure the brace straightens the spine as much as possible while making the brace as comfortable as possible to wear. Both patients and their families are also trained how to do home therapy exercises and utilize their devices (ie flexibility trainer, nerve stretching table) correctly. This way, while you are at home you don’t miss a beat in your treatment plan and continue to do all parts of the program correctly to ensure the best possible treatment outcome.
Understanding Phases of Treatment
Correcting and straightening a scoliosis curve without surgery can’t be done overnight. Scientific research has proven bracing to be effective, but how the brace is used, if exercises are performed, and when and how weaning occurs all contribute to a successful treatment. With the correct approach each of these issues can be addressed to ensure the spine is straightened as much as possible.
Reduction Phase
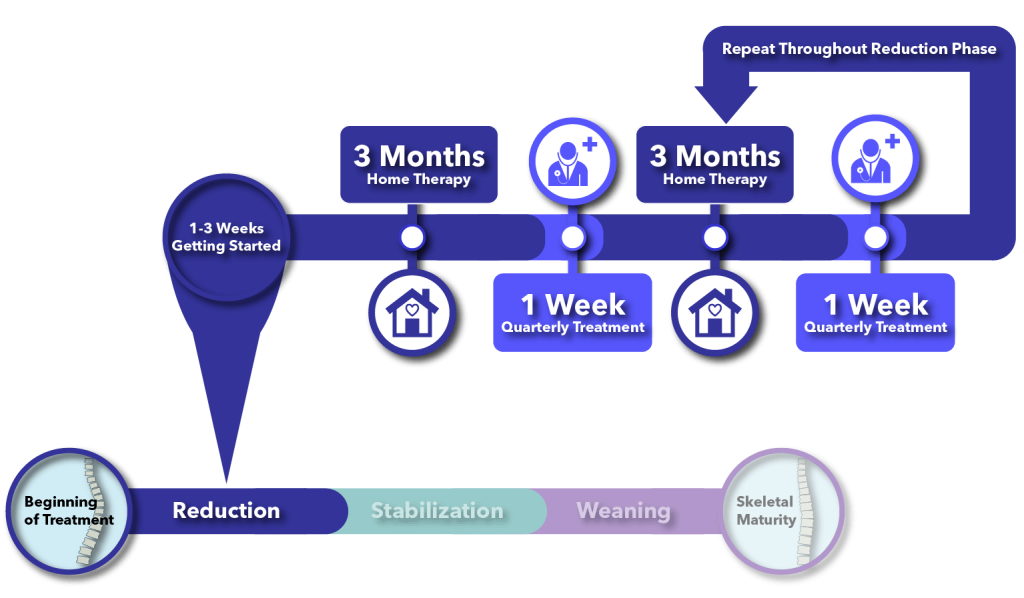
The Reduction Phase is the first phase of the comprehensive curve reduction program. After an initial one to three (or more in special cases) week period in the clinic, patients will go home and perform home therapies for three months with periodic followups being made by phone and Skype to ensure home therapies are being performed correctly. A one week visit to the clinic is then made where treatment is continues and adjustments to the brace and treatment program are made to ensure the spine is being straightened as much as possible. This three months at home, one week in the clinic treatment cycle is then repeated throughout the Reduction Phase as we continue to straighten the spine.
Stabilization Phase
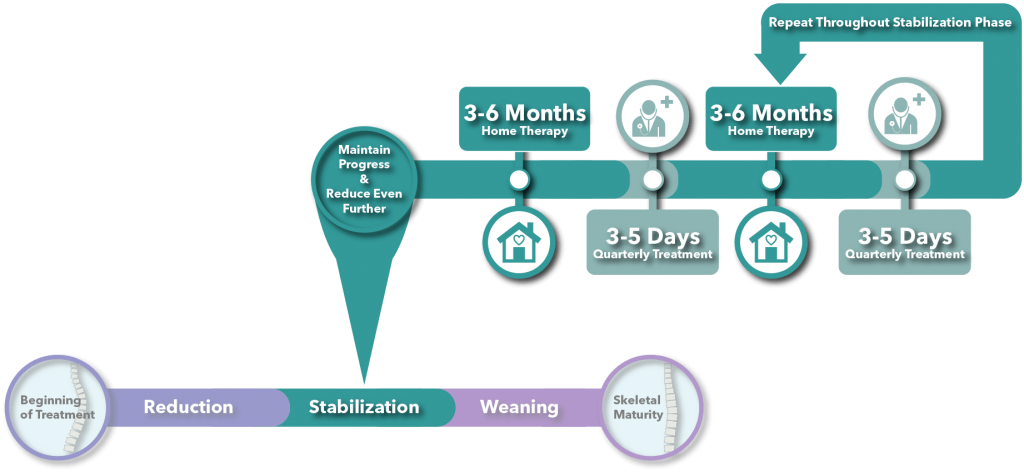
The second phase of the curve correction program is the Stabilization Phase. To ensure progress is not lost, the spine needs to be held in its new position for at least a year or until skeletal maturity. However, if we are already holding the spine in its new corrective position, we might as well work to straighten it even more! After all, the best defense is a good offense.
The Stabilization Phase uses the same home therapy and in-clinic cycle that the Reduction Phase does, but with different amounts of time as we focus on both stabilizing the spine and reducing the curve even further.
Weaning Phase
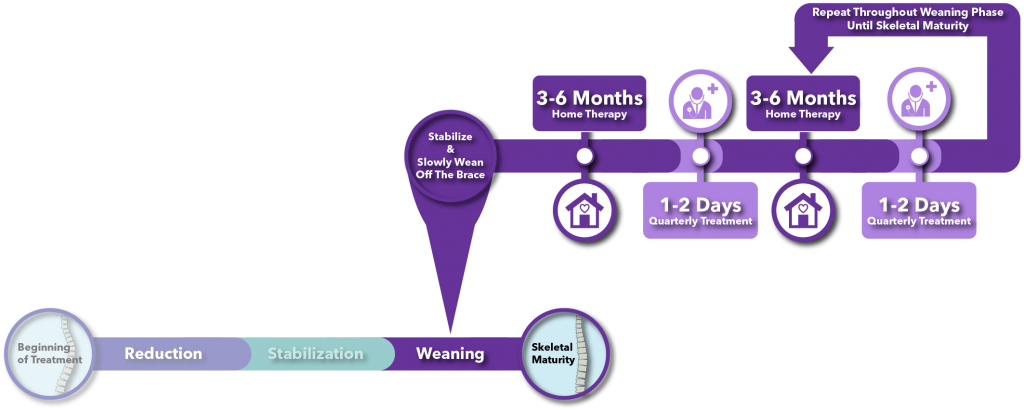
The final phase of the curve correction program is the weaning phase which continues until the child or teen reaches skeletal maturity (has stopped growing). Just as orthodontic braces are slowly weaned off and replaced with a retainer, in-clinic time and brace wear are slowly reduced while home therapy continues. By gradually weaning off the brace we ensure the spine, its supporting muscles, the body are able to maintain the new straightened posture providing long lasting results and a healthy, happy adulthood.
Information on this page was written and reviewed for scientific and factual accuracy by Dr. Austin Jelcick, PhD and Dr. Matthew Janzen, DC. Last reviewed/edited on October 27, 2020. First published November 21, 2019.

